Mochi
- Dessert
Who loves mochi ice cream?
Did all the hands in the world just go up simultaneously?
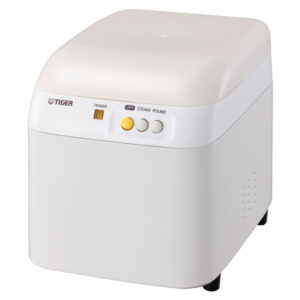
Well, whether you’re making a delicious Japanese dessert, or celebrating the first day of the new year, we’ve got a time-saving secret weapon when it comes to making mochi at home!
Ingredients
- Mochi rice (amount based off of chart below)
- Flour
Water (amount based off of chart below)
- Cups (with supplied measuring cup)
- Rice 5, Water 2
- Rice 6, Water 2.1
- Rice 7, Water 2.2
- Rice 8, Water 2.2
- Rice 9, Water 2.3
- Rice 10, Water 2.5
Directions
- Rinse rice several times in a separate bowl until the water in the bowl appears relatively clear
- Soak rice in water for 6-12 hours to make the rice bright and glutinous. Avoid soaking for over 24 hours and in water where it may freeze over time.
- Before steaming, strain the rice for about 30 minutes. If the rice is not well drained, the mochi may be too soft after pounding.
- Pour the appropriate amount of water in the water reservoir using the supplied measuring cup.
- Mount the inner container and turn clockwise to set in the mochi maker.
- Mount the impeller to the motor shaft and turn until it stops.
- Place the desired amount of rice in the inner container and lightly level the rice by hand. Place the lid on top, making sure to not press down the rice.
- Connect the power pug and push “STEAM” button to start the steaming.
- The buzzer will ring when completed to show that the steam has ended. Press the “OFF” button to turn off the machine. Remove the lid and check if rice is soft.
- Leave the lid off and push the “POUND” button to start pounding the mochi. Recommended pounding time is about 10 minutes but may differ depending on desired texture with the rice. For hard mochi, cool down the steamed rice and start pounding. For soft mochi, add a small amount of water when the pounding is about 70-80% complete.
- Push the “OFF” button after 10 minutes. Use mitten gloves to hold the upper rim of the inner container and remove the container from the body by turning counterclockwise (LOOSEN arrow). Take caution as the inner container is hot.
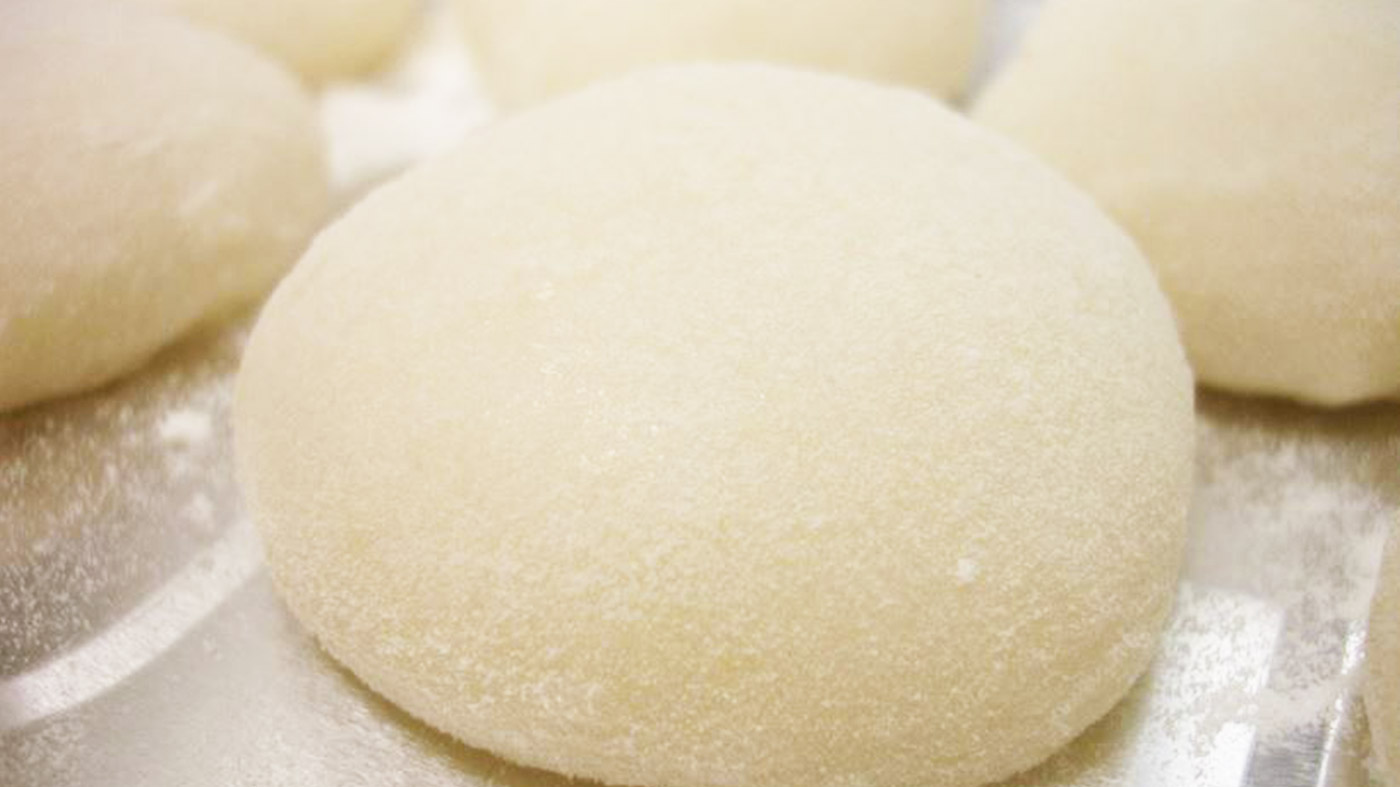
- Flip the container over on the cover to take out the mochi. If the impeller comes off with the mochi, remove it with caution.
- Sprinkle some flour on the mochi and roll into balls about the size of 2 tablespoons. Flatten the mochi and place on non-stick pans (or a pan with sprinkled flour).
- Serve with desired toppings such as maccha or anko (red beans)
WHAT IS MOCHI?
Mochi (もち) is a Japanese rice cake made of glutinous rice. In Japanese, this short grain glutinous rice is called mochigome – and it’s common to hear it referred to as sweet rice in English.
Now, this rice is essentially soaked, steamed and then pounded into an elastic, stretchy paste which can be molded and shaped into many forms.
It is used in Japanese desserts (most famously as the delicious, chewy edible wrapper in mochi ice cream) – and also made into seasonal specialties for celebrations in Japan.
Japanese mochi is eaten in many forms on New Year’s Day – kagami mochi and ozoni being two of the most often used preparations to welcome in the new year.
On its own, mochi has a very mild flavor – almost like plain rice with just the faintest hint of underlying sweetness. And while more assertive levels of sweetness are often added to mochi recipes when used in desserts, mochi is more about the texture than the flavor.
The elastic, chewy gumminess is like nothing else we’ve ever tried in the food world. That said, we still find it delicious 😋
Fun fact: delicious in Japanese is ‘oishi’ – おいしい.
HOW TO MAKE MOCHI
Making mochi from scratch can be a laborious, sticky process.
And while it can totally be a fun food project to share with friends and family on a holiday, it isn’t always the most practical use of your time in the kitchen.
Luckily, your Tiger mochi maker will do the heavy lifting here!
After a good soaking of your glutinous rice (sweet rice), make sure to drain well to ensure the best texture of your cooked mochi.
Then simply follow the instructions in the directions tab on this page.
You’ll soon have a batch of mochi ready for your desserts – or your holiday celebrations!
Itadakimasu!