

【How to Clean a Water Bottle】Essential Care to Prevent Odors and Tips by Bottle Type
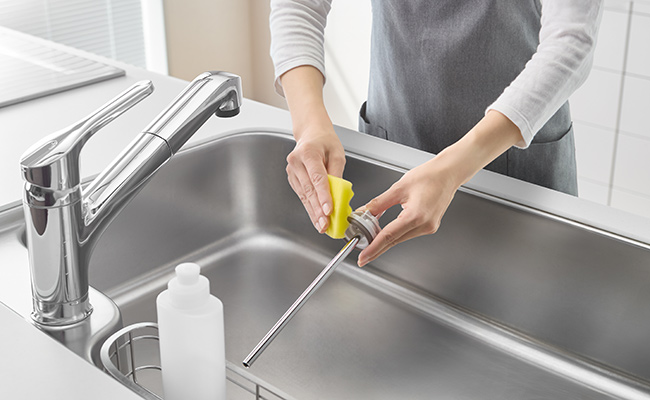
When used daily, water bottles can develop unpleasant odors or a slimy buildup if proper care is neglected. Silicone gaskets and straw components are particularly notorious for trapping hidden residue and becoming a breeding ground for bacteria. This comprehensive guide walks you through the foundational cleaning steps, essential drying hacks, and critical precautions tailored to each specific bottle type.
Table of Contents
Why Does My Water Bottle Smell?

Bacteria Is Breeding Due to Incomplete Drying
If a water bottle is not dried thoroughly after washing, the trace amounts of moisture trapped inside create a perfect environment for bacteria to multiply. Bacteria flourishing in damp, stagnant environments will emit a distinct, damp, musty odor over time.
The inner bottom of the bottle and the deep grooves of the silicone gaskets are highly prone to trapping moisture, even when the rest of the bottle looks completely dry on the surface. To stop bacteria in its tracks, ensuring the interior is completely bone-dry after every wash is absolutely paramount.
Invisible Micro-Residue Has Accumulated
Even if the interior of your flask looks sparkling clean at a glance, microscopic layers of residue may be steadily accumulating over time. For instance, dark tea stains or the sticky sugars from sports drinks have a strong tendency to cling to the inner stainless steel walls like an invisible, thin film. This hidden, leftover residue becomes a premium nutrient source for bacteria, eventually causing foul odors or mold patches to develop as days pass. Even if you wash your bottle daily, these invisible films can build up layer by layer, making it crucial to reset your bottle with periodic deep cleaning.
Odors Have Leached Deep into the Silicone Gaskets
The rubber or silicone gaskets nested inside the lid are another major source of stubborn odors. While silicone is phenomenal for creating a tight, leak-proof seal, its porous molecular nature means it easily absorbs and traps aromatic compounds within its microscopic pores. When you fill your bottle with strong-scented beverages like coffee or black tea, the pungent odors penetrate deep into the gasket matrix, meaning a quick surface rinse will not fully remove them. To prevent these scents from permanently bonding to the material, it is vital to disassemble all parts and wash every nook and cranny with care.
【The Basics】The Right Way to Clean and Maintain Your Bottle
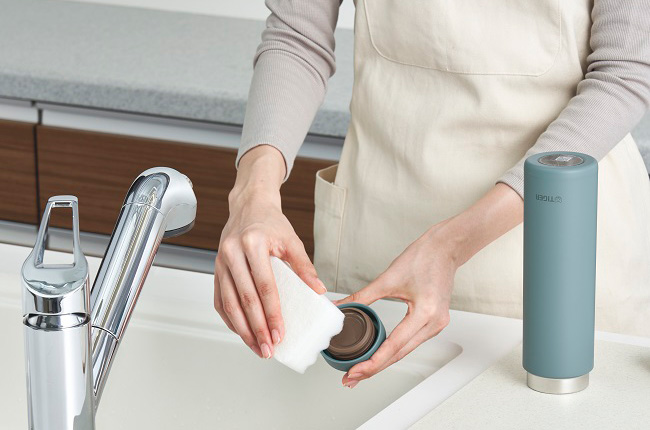
To maintain pristine hygiene, cleaning your water bottle using the correct structural approach is essential.
First, ensure you completely detach the lid, silicone gaskets, straws, and any other removable components. Because structural grime settles heavily in minute seams, disassembling everything before you clean is the ultimate way to prevent long-term odor and residue buildup.
Keep in mind that the disassembly process and specific care rules vary by manufacturer, so reviewing your product’s instruction manual beforehand provides great peace of mind.
The Standard Step-by-Step Cleaning Routine
The foundational routine for washing your water bottle is as follows:
- Disassemble all parts completely: Separate the main lid, gaskets, and individual components so no seams are covered.
- Wash with mild dish soap: Dilute a standard, neutral dish soap on a soft cleaning sponge and gently scrub all surfaces.
- Rinse thoroughly: Place the components under clean running water, rinsing copiously to ensure zero soap film remains.
- Dry completely: Squeegee off excess water with a towel and allow all pieces to air-dry completely until all moisture evaporates.
Scrubbing the inside of your stainless steel bottle with a stiff abrasive sponge, steel wool, or wire brush can permanently scratch the specialized interior finish. Always use a soft, non-scratch sponge for your daily maintenance. Additionally, for hard-to-reach areas like the deep bottom of the flask or the micro-grooves of the gaskets where sponges fail, utilizing a soft-bristled bottle brush is highly recommended. Selecting the right tools engineered for the bottle’s shape makes removing invisible residues effortless.
Proper Drying: The Ultimate Secret to Preventing Odors
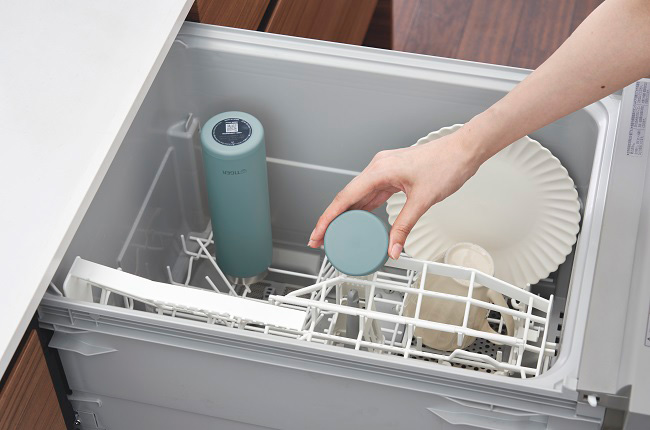
*Note: If you plan to use a dishwasher, please check your product manual in advance to confirm your bottle model is dishwasher-safe.
To banish foul odors from your flask, the real secret lies in how quickly and completely you eliminate moisture after washing. If even a fraction of humidity remains locked inside, the clean steel quickly reverts back into a high-risk sanctuary for bacterial activity the moment the temperature rises.
Here are highly efficient drying strategies that effortlessly fit into your daily routine, alongside quick-dry techniques to accelerate evaporation when you are short on time.
Pro-Tips for Efficient Drying
The moment you finish rinsing your water bottle, wipe down the exterior and reachable spots with a clean dish towel or paper towel to eliminate pooling water.
For the bottle body, the gold standard is to place it upside down in a well-ventilated area. However, standing it perfectly vertical on a flat counter can block airflow, trapping humid air right inside the chamber. Instead, rest the bottle at a slight angle or use a slotted rack to keep the air pathways wide open. Similarly, keeping the lids and detached gaskets laid out flat and fully separated ensures their intricate crevices dry rapidly, preventing musty smells from taking root.
Time-Saving Quick-Dry Techniques
When you need your flask dried in a hurry, executing your final rinse with warm or lukewarm water is remarkably effective. Raising the temperature of the stainless steel body drastically accelerates the rate of evaporation. If you immediately follow up by wiping the deep interior with a rolled piece of paper towel, you can effortlessly clear out the stubborn droplets trapped at the very bottom.
Utilizing a dedicated water bottle drying rack or vertical peg holder is also an excellent investment, keeping the bottles exceptionally stable while optimizing maximum convective airflow.
What to Do When Stubborn Odors, Tea Stains, or Slime Won’t Budge
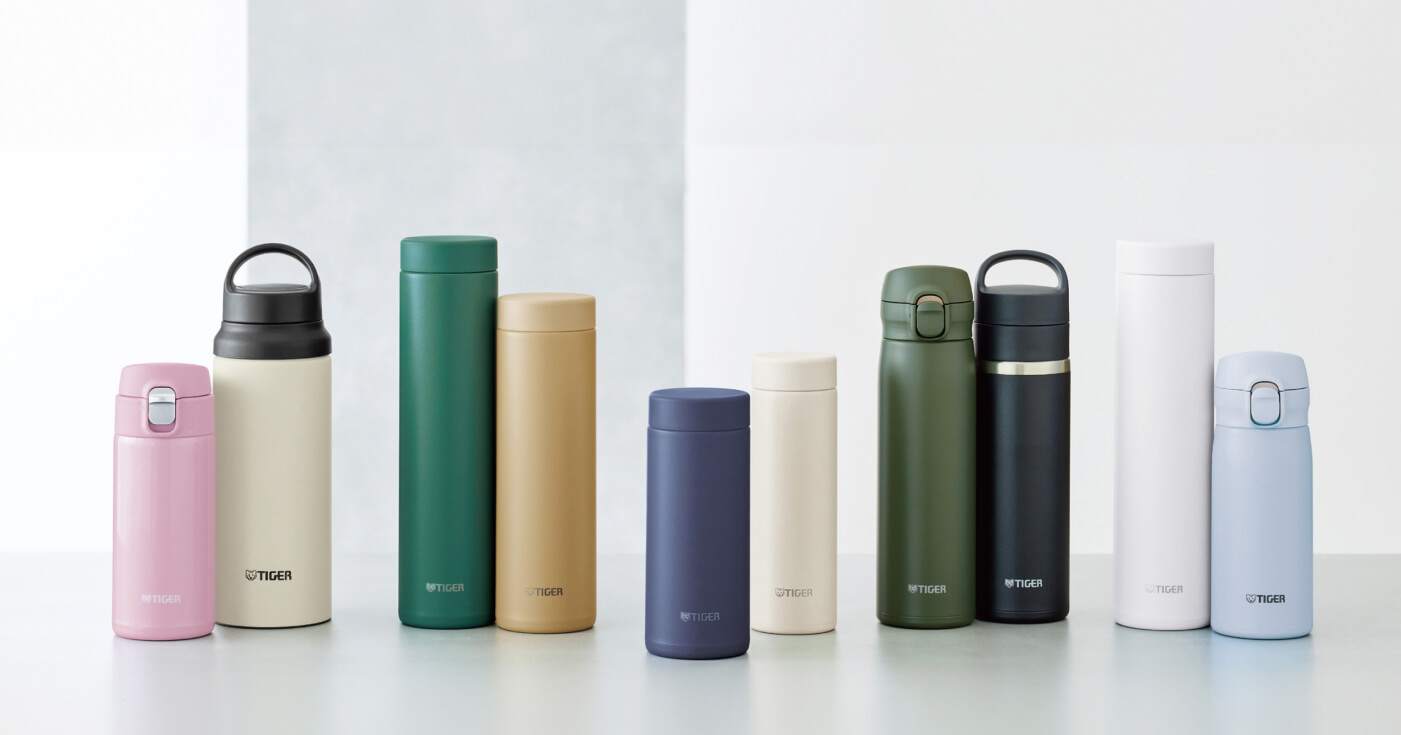
When dealing with stubborn, deep-seated grime that builds up despite daily washing, the trick is choosing the correct chemical agent tailored to the specific type of stain. For a sticky, oily buildup, baking soda works wonders; for chalky white scale, citric acid is the perfect tool. Identifying the true nature of the grime allows you to reset your bottle effortlessly.
Let’s look at the unique properties of these cleaning agents and how to safely purge stains without compromising the integrity of your bottle.
For Sticky Grime and Mild Odors: Use Baking Soda
When your bottle develops a tacky internal film or a mild, lingering scent, treating it with baking soda is highly recommended. Simply fill the flask with lukewarm water, add a spoonful of baking soda, secure the lid, and give it a thorough shake to easily dissolve and lift the internal film.
Baking soda excels at breaking down light organic oils and actively neutralizes acidic odor compounds. It is an incredibly accessible, non-toxic remedy to introduce whenever your standard dish soap fails to leave the bottle feeling completely fresh.
For Chalky White Buildup (Limescale): Use Citric Acid
The rough, white crystalline scaling that forms on the inner bottom of your bottle is limescale—hardened mineral deposits left behind by tap water. Because these crusty deposits are alkaline, performing a neutralizing soak with acidic citric acid delivers flawless results.
For a deep reset, dissolve a small amount of citric acid powder into lukewarm water, pour it to the brim of the bottle, and let it sit undisturbed for 2 to 3 hours. The scaling will dissolve, reverting the steel to a flawlessly smooth touch. However, leaving acid inside for excessive durations or failing to rinse properly can induce pinpoint rust or discoloration; always wrap up the process with a meticulous, deep rinse under fresh running water. Note: Because certain bottle linings or specialized components are incompatible with acid treatment, always cross-reference your product manual before proceeding.
【By Bottle Type】Cleaning Methods and Warnings
Because different water bottle styles feature unique materials and physical geometries, grime tends to accumulate in completely different areas. Tailoring your maintenance routine to the specific architecture of your bottle is vital.
Let’s analyze the correct washing methodologies and critical material warnings for each distinct category.
Stainless Steel Bottles (Vacuum Insulated Bottles)
While stainless steel bottles excel at long-term thermal retention, protecting their inner surfaces and protective coatings requires mindful care. To safeguard the ultra-smooth, mirror-like inner finish, always scrub gently using a soft sponge devoid of harsh abrasives. For the tight corners at the very bottom where film gathers, using an L-shaped brush allows you to sweep away slime effortlessly.
Crucially, steer clear of chlorine-based bleach, as it causes severe chemical pitting and rust. Furthermore, avoid boiling the components or running non-compatible models through a dishwasher, as intense heat can cause exterior paint to peel or warp internal seals.
Plastic Bottles
Lightweight and effortless to handle, plastic bottles are a favorite choice for children; however, compared to stainless steel, the material scratches easily and absorbs odors quickly. Therefore, the ultimate rule when cleaning plastic is to swap out rigid scrub brushes for ultra-soft cloths or non-scratch sponges.
If micro-scratches form on the plastic surface, those tiny fissures become an ideal sanctuary for mold and bacteria, causing persistent slime. Additionally, the threaded ridges along the bottle neck that lock with the cap are prime real estate for residue; trace along the threading carefully when washing. Avoid abrasive cleansers or polishing powders entirely, as they strip the surface glossy layer and leave the plastic looking cloudy and dull.
Straw-Type Bottles
Featuring multiple small parts and an intricate internal fluid pathway, straw-type bottles demand strict anti-mold measures to counteract trapped moisture. Tea stains and mineral crusts accumulate heavily inside the long straw tube, making it essential to pass a specialized micro-diameter straw brush all the way through the channel.
Recently, advanced models featuring high-grade stainless steel straws have surged in popularity due to their superior cleanability. Compared to traditional plastic variations, stainless steel alternatives are remarkably resistant to odor absorption and staining, and their robust surfaces resist scratching. This ensures the straw remains completely sanitary over years of heavy use. Don’t forget that the underside of the silicone housing where the straw plugs in is also a hotspot for mold. Disassemble this section completely and firmly massage it with soapy water. Exercise caution not to pull the components with excessive force during washing, as micro-tears can let air leak into the line, making it difficult to suction up liquids later.
Direct-Drink (One-Touch) Bottles
Direct-drink models require a heightened level of hygienic awareness because natural skin oils and saliva contact the mouthpiece directly, paving the way for rapid bacterial colonization. To effectively clear the rim where your lips rest, fold your sponge in half and clamp it around the lip line as you wipe.
Furthermore, the tiny air-vent holes engineered to ensure a smooth fluid flow are prime targets for clogging and subsequent mold growth. Keep these pathways clean by gently cleaning them with a micro-brush or a cotton swab. Because grime slips easily into the channels housing the silicone seals, always pry the gaskets out for a dedicated wash. Avoid abrasive detergents or harsh wire pads; scratching the mouthpiece creates tiny pockets for bacteria and ruins the smooth, comfortable feel against your lips.
Cup-Style Bottles
Because you pour your drink into an external cap-cup rather than touching the bottle mouth, cup-style flasks are naturally highly hygienic. However, the internal stopper mechanism that handles the pouring action features complex spring-loaded buttons where residue loves to hide. When washing, deconstruct the stopper components as much as possible to flush out hidden tea stains.
Neglecting this area allows deep tea scaling to build up out of sight. Additionally, look closely at the interior bottom corners of the cup component, as sweet or sticky beverage dried droplets tend to harden right in the crease. If the stopper features metallic spring elements, always opt for an oxygen-based sanitizer rather than a chlorine-based bleach to guarantee safe, non-corrosive stain removal.
Form Good Cleaning Habits to Keep Your Bottle Hygienic and Long-Lasting

To keep your water bottle in immaculate condition, the secret is setting up an effortless routine that you can maintain without friction. Establishing a steadfast habit of washing your flask the exact moment you return home stops odors and stains from bonding to the materials.
Small lifestyle adjustments—like storing your long bottle brushes within arm’s reach of the sink or designating a specific drying tray for small silicone gaskets so they never go missing—significantly lowers the mental barrier to daily maintenance.
By blending these daily habits with a periodic deep-cleaning soak, you can keep your favorite insulated bottle beautifully clean, fresh, and pristine for years to come.